Once all the cutting is done and you've got your instructions out to tell you what piece to start with, the next step is to get down to sewing!
A word about sewing machines: Every machine works slightly differently, they thread differently and have different features. Reading the manual or having someone who's familiar with a particular machine give you the basics is always worth the time before you start. It'll save you the trouble of trying to figure the ins and outs.
Sometimes pieces need to be sewn with the good side "right side" of the fabric together, sometimes not, that's where the directions always come in handy!
Since my pieces needed to be sewn together right side in, the next step was to turn the pieces right side out.
Before removing the pattern piece, it's a good idea to mark the circles that indicate darts or, in this case, pockets.
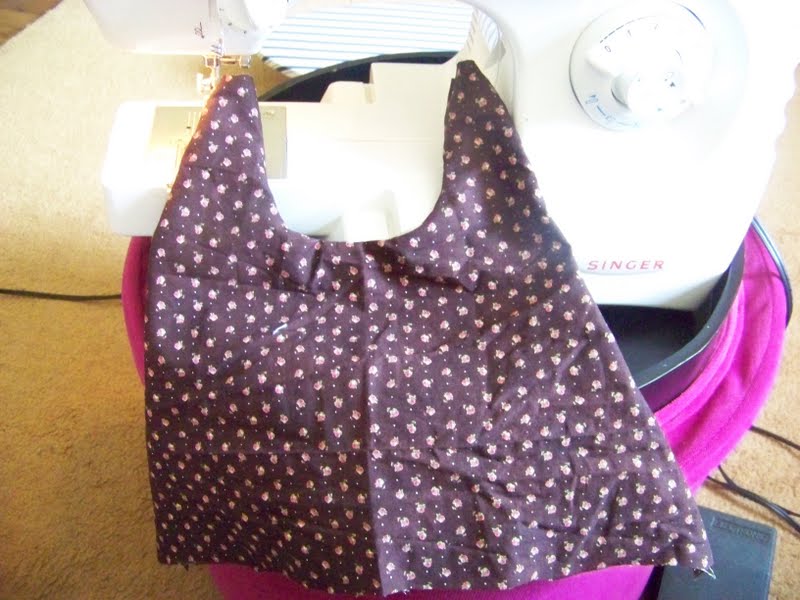
Another way to mark the circles is to use pins. This is what I've done here because the fabric is too dark to show pencil markings.
Remember the triangles you cut? Here's where that comes in handy. You can use them to match up the pieces.
Sewing is about 1/3 sewing, 1/3 cutting/organizing and 1/3 ironing. So, back to the ironing of the pieces I've sewn together and turned right side out.
Here's all the pieces with the beginning stitches, ironed and ready for being put together next time.


No comments:
Post a Comment
I welcome positive, supportive sharing in this community. God bless!